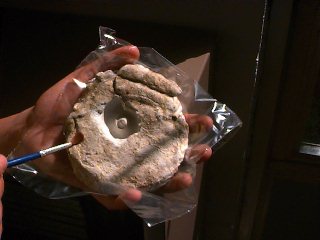

Students in Mr. McCollum's 8th grade science classes at Charleston Middle School in Charleston, IL participated as members of a field test team for National Science and Technology Week (NSTW). To better understand the process of fossilization, they followed the steps pictured below.
|
|
|
|---|
Left - Sand was poured into an empty 2 liter bottle and a natural object was partially embedded into the surface. The sand and object were sprayed with PAM and the plaster was mixed with water until it reached a consistency of pancake batter. Right - The plaster was slowly poured onto the sand and natural object and allowed to harden. Additional layers of sand, objects and plaster were eventually added.
|
|
|
|---|
Left - After allowing the plaster to dry for 24 hours, the plastic bottles were cut open and the layers were removed. The students then worked as paleontologists, using brushes to carefully remove sand from the fossil impressions. Right - Fossilized impression of a sea shell.
Questions - 1. If the sand and plaster represented layers of rock, where in each bottle would the oldest fossils be found? 2. What type of fossils were created in this activity? (mineralization-type, impression-type, entombed-type)
Special thanks to Steven Robertson and Amy Harrison from David Heil & Associates, Inc. for the opportunity to participate in this field test.
Return to CyberScience '97